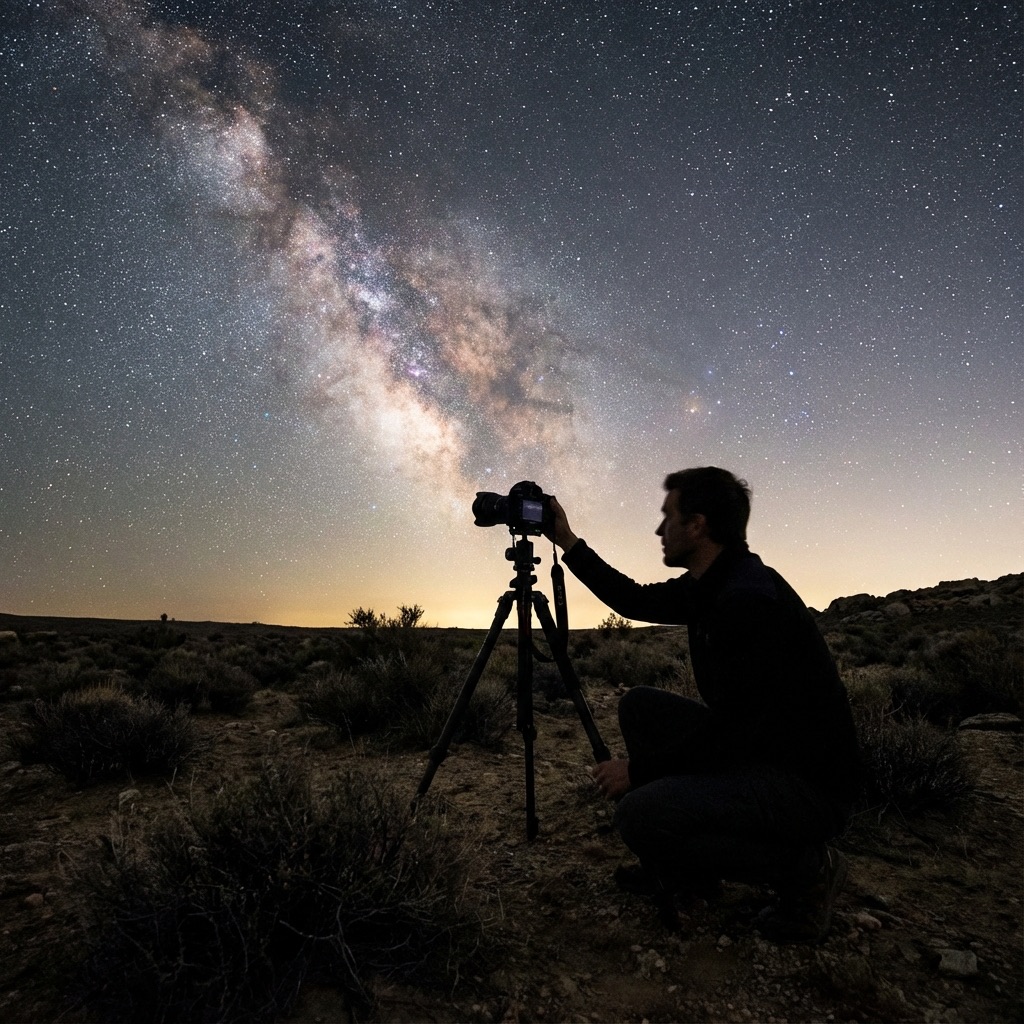
Astrophotography on a Budget: Capture the Milky Way for Under $500
High-quality celestial photography doesn't always require an expensive rig, but it does require technical precision. This dossier identifies the best hardware configurations and workflows for capturing the galactic core on a budget of under $500.

DH Research Lab
Data & Editorial Board
Expert Tested Gear & Affiliate Disclosure
This guide contains affiliate links. As an Amazon Associate, we earn from qualifying purchases.
01Understanding the Challenge
Night sky photography has two main challenges:
Light — Stars are dim. You need to gather as much light as possible, which means wide apertures (f/2.8 or wider) and high ISO settings.
Motion — The Earth rotates, causing stars to trail across the frame in long exposures. For wide-angle shots, you can use the "500 Rule": divide 500 by your lens focal length to get your maximum shutter speed. Example: 500 ÷ 14mm = 35 seconds max.
Location — Just like visual observing, dark skies are essential. Use our Light Pollution Map to find Bortle 3-4 locations.
The 500 Rule vs. The NPF Rule
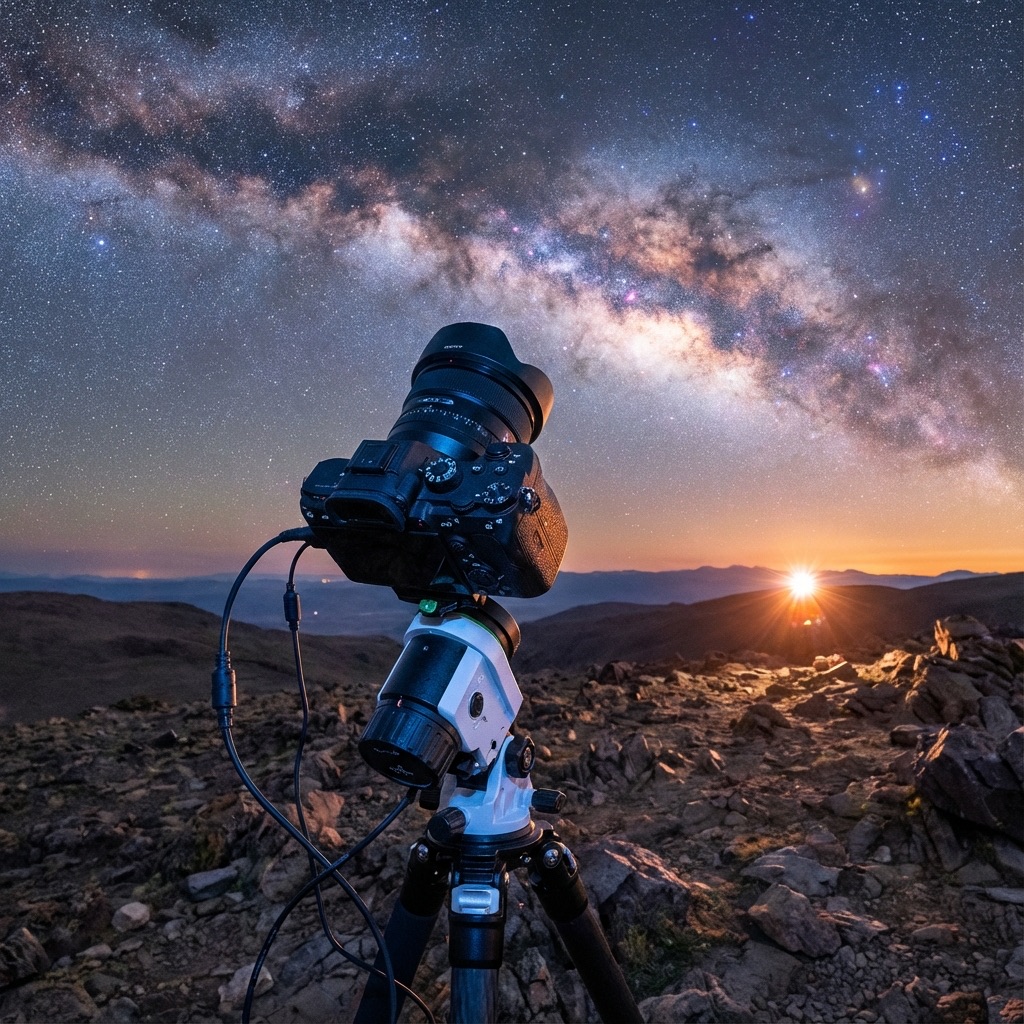
02The Budget Astrophotography Kit
Here's a complete setup for under $500. I've used this exact kit to capture award-winning images of the galactic core.
Sony a6000 (Used)
“The lightweight king of budget astrophotography.”
RATIONALE
Excellent high-ISO performance and a massive selection of affordable E-mount lenses.
03Camera Settings for the Milky Way
The Magic Settings:
- Aperture: f/2.8 (as wide as your lens goes)
- Shutter Speed: 20-30 seconds (use the 500 rule)
- ISO: 3200-6400 (start at 3200, increase if too dark)
- Focus: Manual, focused on a bright star (use Live View and zoom in)
Shoot RAW
Never shoot JPEGs for astro. You need the raw data for post-processing.
White Balance
Set to 4000K to give your sky a natural, professional deep blue tint.
Foreground
Include an interesting landscape element to give your photo scale and depth.
Frequently Asked Questions
Q:What is the cheapest way to photograph the Milky Way?
A used Sony a6000 ($250-350) with a fast wide-angle lens (like Rokinon 12mm f/2.0 at $250) and a basic tripod ($30) gives you a complete Milky Way setup for under $500 that can produce stunning results.
Q:What camera settings for Milky Way photography?
Use the widest aperture your lens allows (f/2.8 or wider), ISO 3200-6400, and shutter speed calculated by the 500 Rule (500 ÷ focal length). For a 14mm lens, that's about 35 seconds. Shoot in RAW for best post-processing flexibility.
Q:Do I need a full-frame camera for astrophotography?
No, APS-C cameras like the Sony a6000 or Fuji X-T series produce excellent astrophotography results at a fraction of the cost. Full-frame offers better high-ISO performance but isn't necessary for great Milky Way photos.
Q:What is the 500 Rule in astrophotography?
The 500 Rule calculates maximum shutter speed before stars trail: divide 500 by your lens focal length. For a 14mm lens: 500÷14=35 seconds. For tack-sharp stars on high-resolution sensors, use the stricter NPF Rule instead.
Q:Can I photograph the Milky Way from my backyard?
Only if you live in a rural area with Bortle 4 or darker skies. From most suburbs (Bortle 6-7), the Milky Way core will be washed out. Use a light pollution map to find dark sky locations within driving distance.
Don't Forget Your Gear
Get our Dark Sky Preparation Checklist and never arrive at a remote site missing a critical piece of equipment again.
Join 2,400+ astronomers • No spam, strictly dark sky intel
Level Up Your Astronomy Skills
Get our premium PDF guides with hundreds of pages of expert advice, gear recommendations, and step-by-step tutorials.
Browse All GuidesFind Your Darkest Sky
Use our real-time satellite maps to find locations with zero light pollution.
Launch Interactive MapYour Learning Roadmap
You've mastered the intermediate basics. The next logical step in your technical progression is mastering advanced deep sky setups.
MANDATORY FIELD EQUIPMENT
Celestron NexStar 8SE
The gold standard for deep-sky observation. 203mm aperture for maximum light gathering.
ZWO Seestar S50
Fully robotic imaging system. Perfect for urban environments and rapid deployment.
Peak Design Travel Tripod
Zero-latency stability for long exposure astrophotography. Carbon fiber construction.
Continue Your Research
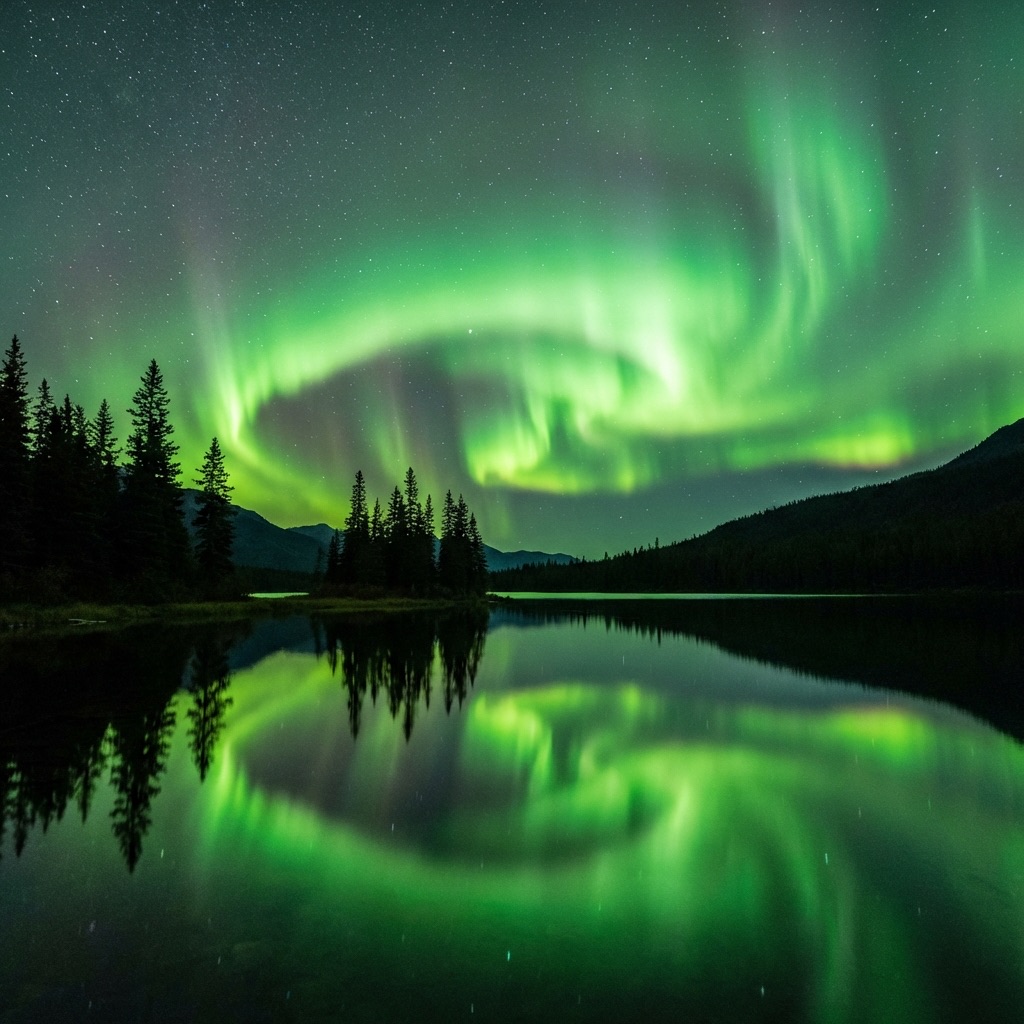
Aurora Photography: Settings & Gear for Stunning Shots
Master aurora photography with our complete guide. Learn the perfect camera settings, lens selection, and post-processing techniques for stunning results.
Astrophotography Gear: The Best $1000 Milky Way Kit
Discover the sweet spot of price-to-performance with our $1,000 Milky Way kit, featuring the best mirrorless cameras, fast lenses, and star trackers.
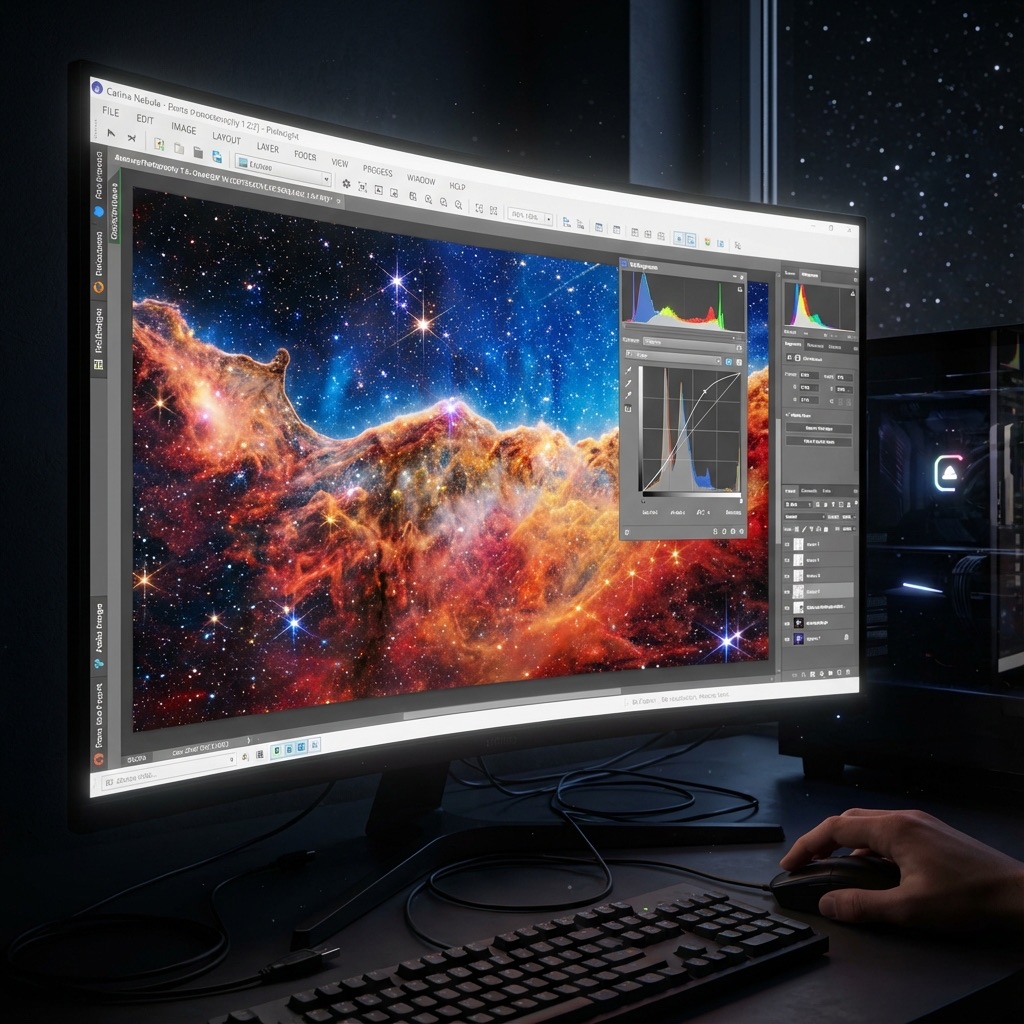
Astrophotography Post-Processing: From RAW to Stunning
Transform flat, noisy RAW files into vibrant, detailed images. Our step-by-step post-processing guide covers stacking, stretching, and color correction.
End of Dossier • Research Complete